Amcrest camera setup to get the Total Security Solutions
In this digital landscape, Amcrest offers advanced digital security through its wired/wireless camera options. Furthermore, these cameras are high-grade with smart vision capabilities. However, these are suitable for homes and commercial places. Therefore, if you own such a device, then it is necessary to learn about the amcrest camera setup first.
In addition, you can use the web address and the app methods to get into the admin panel of the camera and to customize it. Similarly, if you want to explore more about amcrest wifi camera setup, then you must walk through this page. Here, you find detailed info on primary necessities, camera wifi connectivity, and more.
How to setup amcrest camera using different methods?
Moreover, before you head towards the camera configuration process, you must get ready with a few of the primary things, such as an Active internet connection, Web address, admin details, Amcrest View Pro app, Computer/smartphone, etc.
After that, you can opt for the web address of the app methods to carry out the amcrest camera setup procedure. Further, we shed light on the detailed steps for each method in this section, so remain focused:
Web GUI
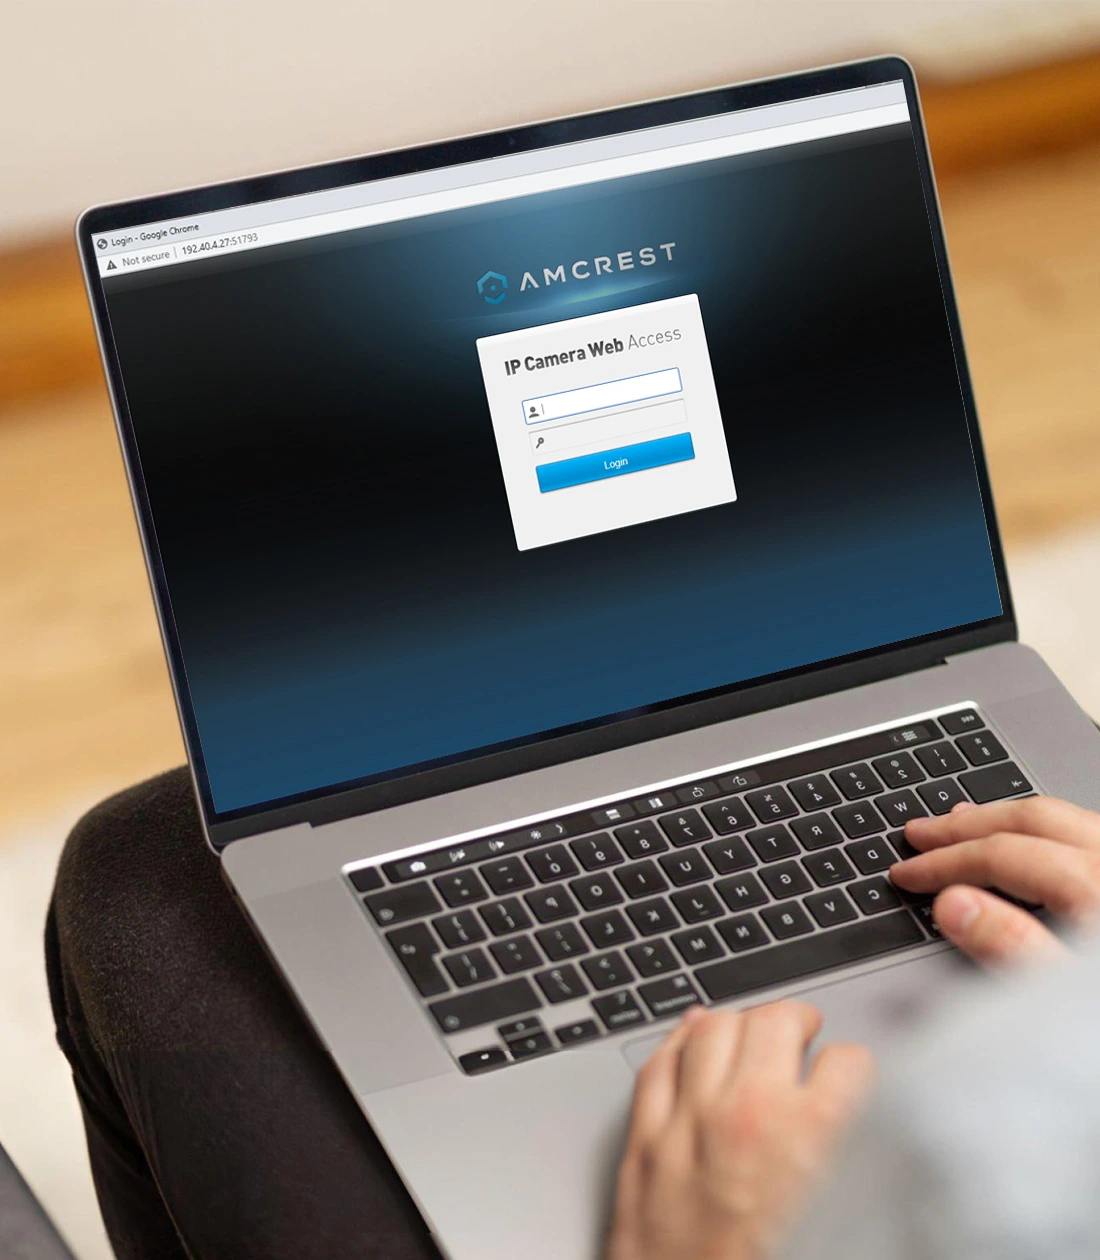
Access camera interface
- To begin with, ensure that the CCTV camera is powered on.
- Next, connect the computer/Macbook/laptop to the available home network.
- Now, join your cameras/base station using an ethernet cable to use a stable and similar home network.
- After that, open your computer’s web browser and type in the IP address you fetch from the IP Config Tool.
- Hereon, enter the valid admin details on the login window that appears to you.
- Further, check that your camera is added to the dashboard otherwise click on the “Add Device/+” option to add your camera.
Connect to the network
- Now, click on the Setup>Network>WiFi>Enable (Toggle the option).
- Here, a list of the available networks is shown to you, so choose your preferred internet.
- Afterward, you are prompted to mention the password for the network.
- Now, tap on the Connect option and you are now successfully joining the network.
- The internet connection information is shown in the Wi-Fi Network Information area.
- Finally, you are done with the amcrest wifi camera setup.
Amcrest View Pro App
To start with the app method configuration, you need to have a smartphone (iOS/Android) and then go ahead with the steps discussed beneath:
Sign in to the user account
- Primarily, link your smartphone to the available home internet.
- Now, check that you have an upgraded version of the Amcrest View Pro app on your smartphone.
- Next, launch the application and enter a valid username and password on the login window.
- After logging in, you reach the smart Home dashboard of the Amcrest camera.

Performing Amcrest camera setup
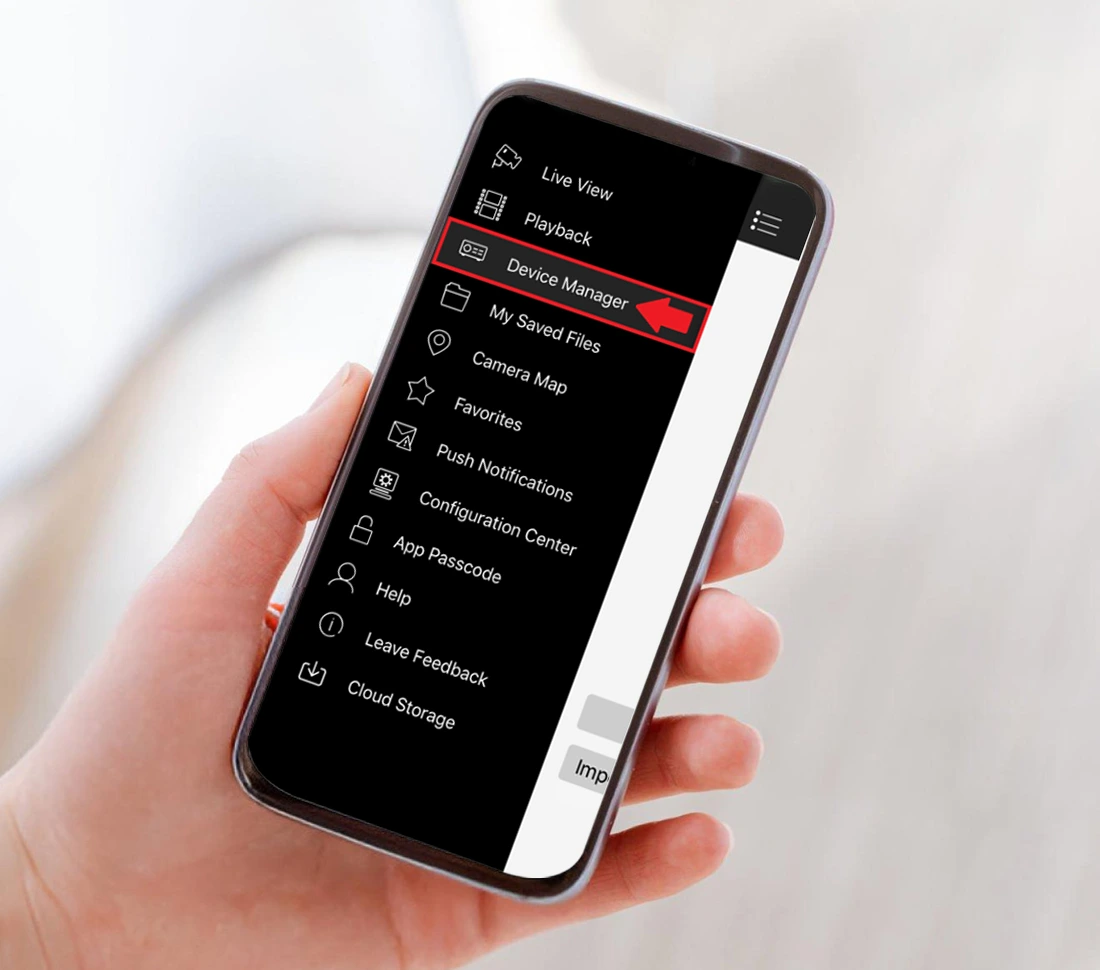
- Hereon, go to the Device Manager>”+” icon>Add Device to add the camera to the app.
- Next, click on the camera category that you use, such as WiFi Camera.
- Further, choose a connection type if you are prompted.
- Again, click on Set Up A New Camera On WiFi or Connect New Device>WiFi Configuration Setup.
- After that, scan the QR code at the camera’s bottom/back sticker.
- Otherwise, manually key in the camera’s serial number into the Enter camera S/N (serial number) section.
- Hereon, you are prompted to give a name to your camera.
- Next, you are asked to enter the username and password for your camera.
- Again, click on Next, mention the password for your WiFi connection, and further tap on Next.
- Here, click on Start Live View and you are now prompted to change the password of your surveillance device.
- Now, modify the camera password and confirm that it should be 8-32 characters long.
- Lastly, you understand how to setup amcrest camera easily.
Quick troubleshooting tips to resolve amcrest CCTV setup issues
Furthermore, accessing and configuring the Amcrest camera is relatively simple. Similarly, newbies sometimes face several issues like login failure, outdated firmware, network connectivity issues, browser errors, and more.
So, it is necessary to resolve these problems to resume the normal functioning of the camera and to complete the setup procedure efficiently. So, take a look at the below-mentioned troubleshooting tips to fix these errors:
- Ensure enough power supply to the wired cameras and completely charge the wireless models.
- Check that the power outlets are not burnt or broken.
- Additionally, mention the correct IP address and admin details while entering the admin panel.
- Delete unnecessary browser data, such as cache and cookies. If the preferred one does not respond to the given web address, then choose another browser.
- Remove the signal interferences, such as mirrors, furniture, cordless phones, radios, etc.
- If you face frequent connection drop-offs, then must contact your ISP authority and follow the guidelines.
- You should ensure you have downloaded the suitable Amcrest app as per the camera model you use and enable all the necessary permissions on it.
- Verify that the smart device is compatible enough with the app and the software installed on it.
- Power cycle the camera to get rid of technical glitches and bugs to resume hassle-free amcrest camera setup.
- You should confirm that you connect your smartphone/computer and camera to the same home network.
- Position the surveillance device within the network range of the router where signal strength is better.
- Make sure the camera settings you modified are saved before you implement them.
- When nothing else works to fix the setup issues with your Amcrest surveillance device, then hard reset it and reconfigure it from scratch.